Surfboard Traction Pad Guide
Your back foot does the steering, and the pad under it decides how much of that steering actually reaches the board. Most surfers pick a pad on the logo and then wonder why their foot slides forward on a bottom turn. The specs that matter are unglamorous: how many pieces, how high the arch sits, how far the kick rises at the tail, and how deep the grooves are cut. Prices sit in a narrow band from around $42 to $64, so the choice is about shape rather than budget, and a pad fitted on a waxy or cold deck will lift no matter which one you buy.
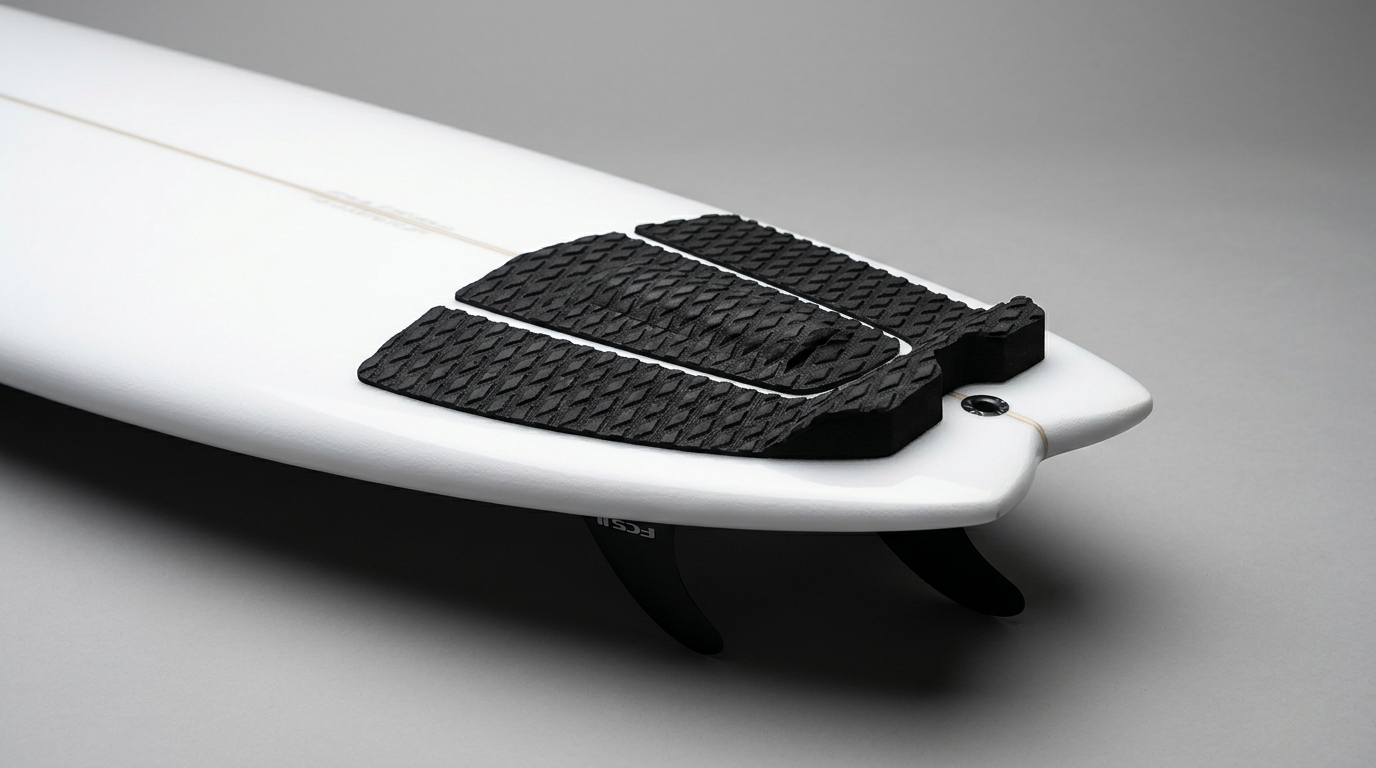
Original Surfex illustration.
Surfex aggregates published retailer specs and editorial reviews, and normalises every score to a /10 scale. Every source links to its original page.
The short version from five sources: a three piece pad with a moderate arch and a mid kick suits most shortboard surfers, price differences inside the $42 to $64 band buy graphics rather than grip, and preparation decides whether the pad is still on the board in six months.
Pieces first, everything else second
Pad layout is the first real decision. A one piece arrives moulded as a single sheet, goes on in one movement and never argues about spacing, which is why it suits travel quivers and grovellers. The trade is feel: a single sheet stiffens the tail slightly and gives your foot one fixed position.
Three piece pads dominate performance surfing for the opposite reason. You set the gaps yourself, so a wide stance and a narrow stance can run the same product differently, and the deck keeps flexing between the sections. Two piece pads exist mainly to cover the wide tails on twin fin fish without leaving a bare strip under the arch.
Arch and kick decide the feel
The arch bar is the raised ridge running under the middle of your foot, and the kick is the wall at the back. Creatures publishes 22mm and 32mm on the Reliance III and describes that combination as the broadest fit across surfers and board types, which is a useful anchor when every other brand describes its pads as low, medium or high without numbers.
Higher arches suit surfers who plant the back foot and leave it there, because the ridge gives a constant reference through a turn. Lower arches like the ones Dakine builds into the Andy Irons Pro suit anyone who shifts their weight forward and back through a wave, or who finds a tall ridge uncomfortable over a two hour session.
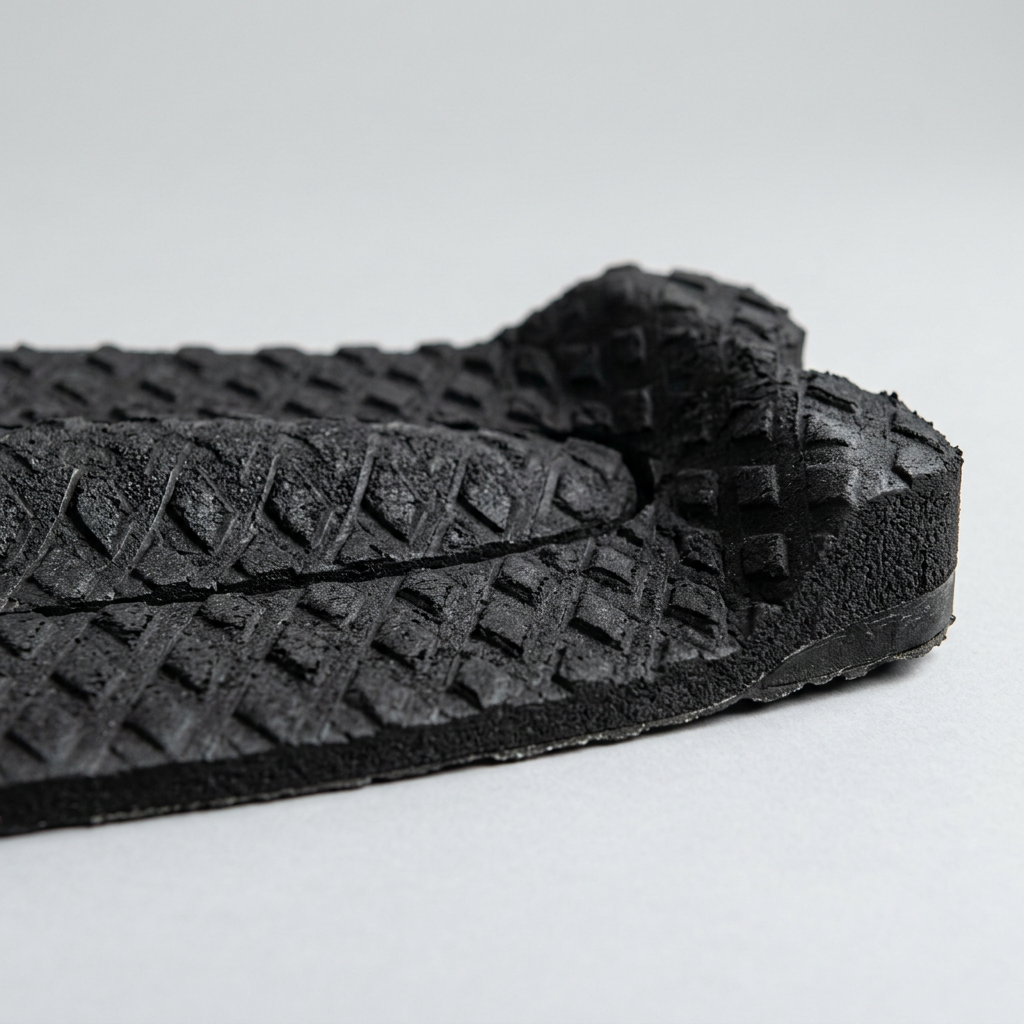
Groove patterns and what they change
Diamond, square and cross-hatch grooves all grip well when dry and all grip well when wet. What changes is how the foam wears and how it feels barefoot. Deeper diamond cuts, used on the FCS signature pads, hold a wet foot slightly better and shed sand faster. Shallow square patterns wear flatter over a season but feel softer under a bare heel.
Foam density matters more than the pattern. A dense pad keeps its kick shape for years, while a soft pad compresses under the heel and quietly loses the kick you paid for. Colour has no effect on grip, but a black pad in tropical sun gets hot enough to notice on a Mentawais boat trip.
What pads actually cost
The band is narrow. Simple three piece pads start near $42, the Dakine Andy Irons Pro sits between $45 and $53 depending on the retailer, the Creatures Reliance III lists at $56 in the US and $69.95 in Australia, and the FCS Julian Wilson signature is $64. Nothing in that range grips meaningfully better than anything else, so buy the shape you want and treat the graphic as a bonus.
Compare that to the boards underneath them. A pad is under two percent of the price of most shortboards in our shortboard reviews, which makes replacing a worn one every year or two an easy call.
Fitting mistakes that lift pads
- Fitting over old wax residue instead of stripping the tail back to bare glass.
- Working on a cold board, so the adhesive never fully bonds at the edges.
- Peeling all three backings at once and losing control of the spacing.
- Setting the kick too far forward, so your back foot sits ahead of the fins.
- Surfing within an hour of fitting, before the adhesive has cured.
Which pad to buy
For a standard shortboard, a three piece with a moderate arch and a mid kick is the answer nine times out of ten. Wide-tailed boards and retro shapes are better served by a one or two piece with a lower profile. Once the pad is on, wax the front two thirds of the deck using the method in our waxing guide, and match the tail setup to the right fins with the fin guide.
What the sources say
| Source | Score | Key takeaway |
|---|---|---|
| American Surf Magazine — Traction pad buying advice | 9.0 / 10 | "The arch bar and kick are what your back foot actually feels. Grip texture matters far less than the shape under your heel." |
| Cleanline Surf — Surfboard traction pads | 8.9 / 10 | "Three piece pads let you set the spacing to your own stance, which is why most performance surfers still choose them over a one piece." |
| Creatures of Leisure — Reliance III | 8.7 / 10 | "A moderate 22mm arch with a 32mm kick suits the widest range of surfers and board types." |
| FCS — Signature traction range | 8.6 / 10 | "Signature pads pair a deep diamond groove with a firm arch so the back foot locks in without hot spots on longer sessions." |
| Dakine — Andy Irons Pro pad | 8.4 / 10 | "A flatter arch and lower kick suit surfers who move their back foot around rather than parking it on the tail." |
Fitting sequence
- 1Wait for a warm dry board
Adhesive needs a clean warm surface. Fit the pad indoors or in the sun on a dry deck, never straight after a surf, and never on a board that is still cold from a car boot.
- 2Strip old wax and clean the tail
Scrape the tail back to bare glass with a wax comb, lift the residue with hot water, then wipe the area down and let it dry fully. Any wax film left behind is the single most common reason a pad peels.
- 3Dry fit before you peel anything
Lay the pieces on the tail with the backing still attached. Set the kick against the tail block, check the arch sits where your back arch lands, and mark the outer edges with a light pencil line.
- 4Fit the kick piece first
Peel the backing off the tail piece only, line the kick up with the tail block, and press it down from the centre outwards. Working from one anchored piece keeps the rest of the layout square.
- 5Add the remaining pieces to your spacing
On a three piece pad leave a few millimetres between sections so the pad flexes with the deck. Wider gaps suit a wide stance, tighter gaps suit surfers who ride with their feet close together.
- 6Press hard, then leave it alone
Lean your body weight through each section for thirty seconds, paying attention to the edges and the nose of the front piece. Leave the board out of the water for at least a few hours so the adhesive cures.
Video guides


Related reading
FAQ
Do I need a traction pad on my surfboard?
A pad replaces tail wax and gives your back foot a fixed reference point, which is why almost every performance shortboard runs one. On a longboard you walk the deck, so wax across the whole board makes more sense than a fixed pad. Fish and mid-lengths go either way depending on whether your back foot stays over the fins.
What is the difference between a one piece and a three piece traction pad?
A one piece arrives as a single moulded sheet and fits in one go, which suits travel boards and grovellers. A three piece lets you set the spacing between sections to your own stance width and flexes better with the deck, which is why most shortboard riders use them. Two piece pads sit in between and cover wider tails cleanly.
How much do surfboard traction pads cost?
Retail listings run from about $42 for a simple three piece up to $64 for a signature model. The Dakine Andy Irons Pro sits around $45 to $53, the Creatures Reliance III lists at $56 USD or $69.95 AUD, and the FCS Julian Wilson is $64. Above that you are paying for graphics rather than grip.
What arch and kick height should I choose?
A moderate arch near 22mm with a kick near 32mm is the safe default and covers most surfers and board types. Go lower on both if you move your back foot around a lot or ride a wider tail. Go taller on the kick if you park your back foot hard against the tail block and want positive feedback in a turn.
How do you stop a traction pad from peeling off?
Almost every failure is a preparation failure. Strip all the old wax, clean the tail with hot water, dry it fully, and fit the pad on a warm board rather than a cold one. Press hard through each section for thirty seconds and keep the board out of the water for a few hours before the first surf.
Can you remove a traction pad without damaging the board?
Yes. Warm the pad with a hairdryer or leave the board in the sun so the adhesive softens, then peel slowly from one corner at a low angle. Remove the leftover glue with a citrus based adhesive remover rather than scraping, since a hard scraper is how you put a fresh ding into the deck.
Aggregated from 5 independent published sources and 3 video guides.