Surfboard Ding Repair
A cracked rail is not what wrecks a surfboard. Water is. Every hour a ding sits open, the foam core drinks, and a board that was light on Friday is a waterlogged, delaminating brick by the end of the month. That is the whole reason ding repair is urgent rather than cosmetic, and it is also why the fix is worth learning: most chips take one tube of resin and less time than driving to a shop. What follows pulls the published repair procedures from Shapers and NSP together with a glasser's full lamination tutorial, sorts the damage into what you can fix and what you should hand over, and sets out the sequence in the order it actually happens. Get the resin choice right first, because polyester on an EPS board is the one mistake that turns a small job into a new board.
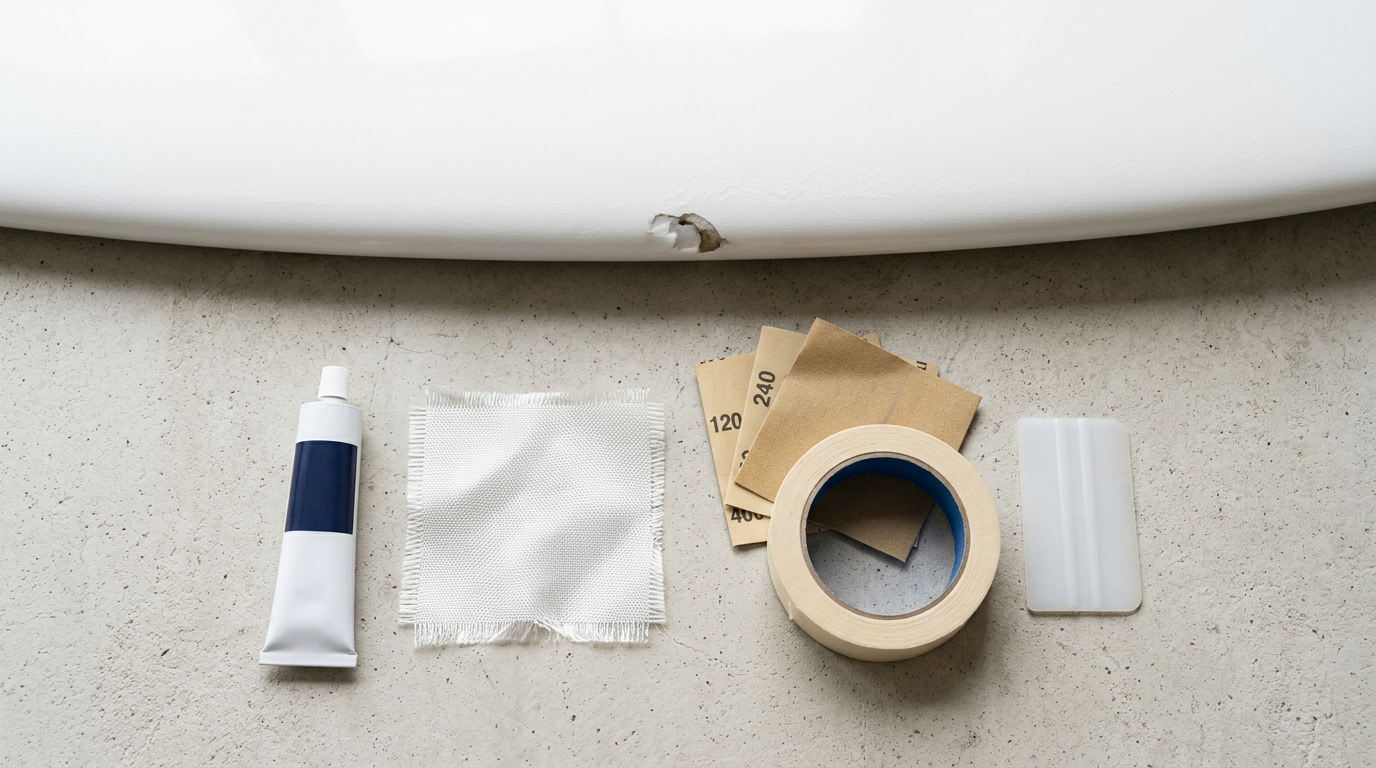
Original Surfex illustration.
Surfex aggregates published repair procedures from shapers, brands and glassers. Every figure on this page comes from a source linked below.
Seal fast, repair properly, and know the line where a job stops being yours. A sealed ding is cosmetic; an open one is a countdown. The two decisions that decide whether the patch lasts are matching resin to construction and drying the foam before any resin touches it.
Why an open ding is urgent
Foam cores are absorbent. Surfyx puts the chain of events plainly: water enters through the break, the board gains weight, the glass separates from the foam, and eventually the board is finished. None of that happens to a sealed ding, which is why the tube of resin in your car matters more than the quality of the eventual patch.
This is maintenance in the same category as keeping a clean deck. If your board is due a strip anyway, do it while the repair cures and read the waxing guide before you re-coat it.
Epoxy or polyester: check before you buy resin
Polyurethane boards with polyester glassing take polyester resin. EPS boards with epoxy glassing take epoxy. Get that backwards in the polyester-on-EPS direction and the styrene in the resin eats the foam core, turning a chip into a crater. Epoxy over polyester is chemically safe, which is why most guides recommend epoxy when the construction is not marked.
Construction is usually printed near the stringer or the tail stamp, and most brands publish it per model. Boards from Firewire and Haydenshapes are epoxy-built as standard, while a lot of the hand-shaped PU boards in our shortboard reviews are traditional polyester. NSP's own repair walkthrough covers the epoxy case on a Protech board if you want to see it done on that construction.
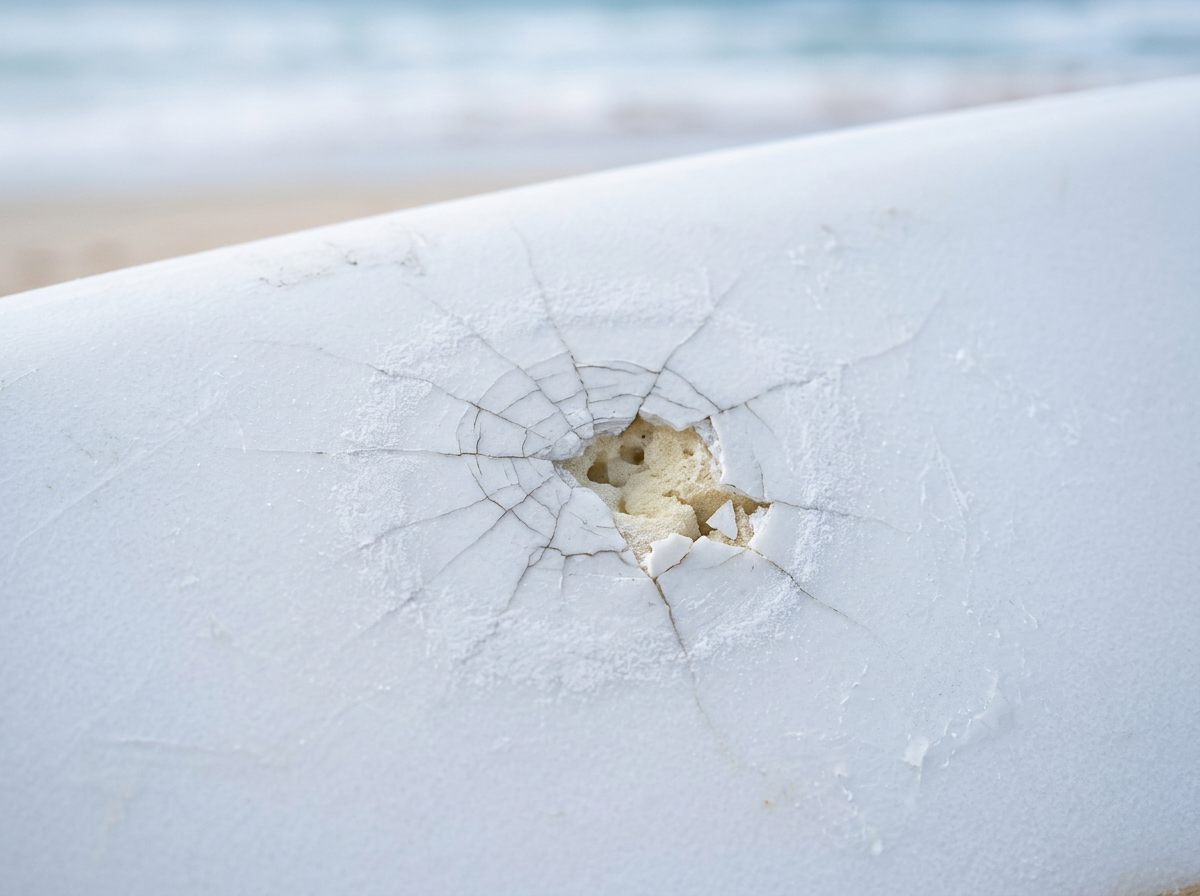
The emergency seal
If you find a ding in the car park, you do not need a full repair to surf. Towel the area dry, squeeze UV-cure resin over the break, smooth it flat with a finger and hold the board in direct sunlight for a few minutes until it goes hard. Surfyx rates this as the best emergency tool precisely because a tube fits in a glove box.
Treat it as a plug, not a fix. Solar resin over an unsanded surface bonds to whatever wax and grit was sitting there, so it lifts eventually. Do the real repair the same week.
Drying comes before everything
Shapers is unambiguous that the area must be completely dry and clean before repairing, with all loose particles, jagged fibreglass, dirt and wax removed. On a board that took water in a session, that means standing it on end with the ding facing down, in the shade, for a day or longer.
Resist the shortcut of a hot car or full sun. Heat pushes trapped moisture into the glass line and can start the same delamination you are trying to prevent.
Sanding, filling and glassing
Both procedures agree on the shape of the work. Shapers recommends sanding out roughly 3mm around the ding and blending it into the surrounding area, so the patch keys into a taper instead of butting against a sharp edge. Surf Technique's tutorial starts the same way with 40 grit on a flat block to remove every loose part and create a mechanical bond.
The filler stage is where weight is won or lost. Mixing resin at a 2:1 ratio with Q-Cell produces a paste that adds volume without adding mass, and it is what lets you rebuild a rail line rather than just plug a hole. Sand that back from several angles once it hardens, checking against the board's original curve rather than eyeballing it flat.
Lamination uses two cloth layers, a small one over the fill and a larger one overlapping it, both wet out fully and pulled down over the rail. Then a thin hot coat seals the weave, and the grit progression runs 80, 120, 220 and a 320 wet sand.
Fin boxes and the professional line
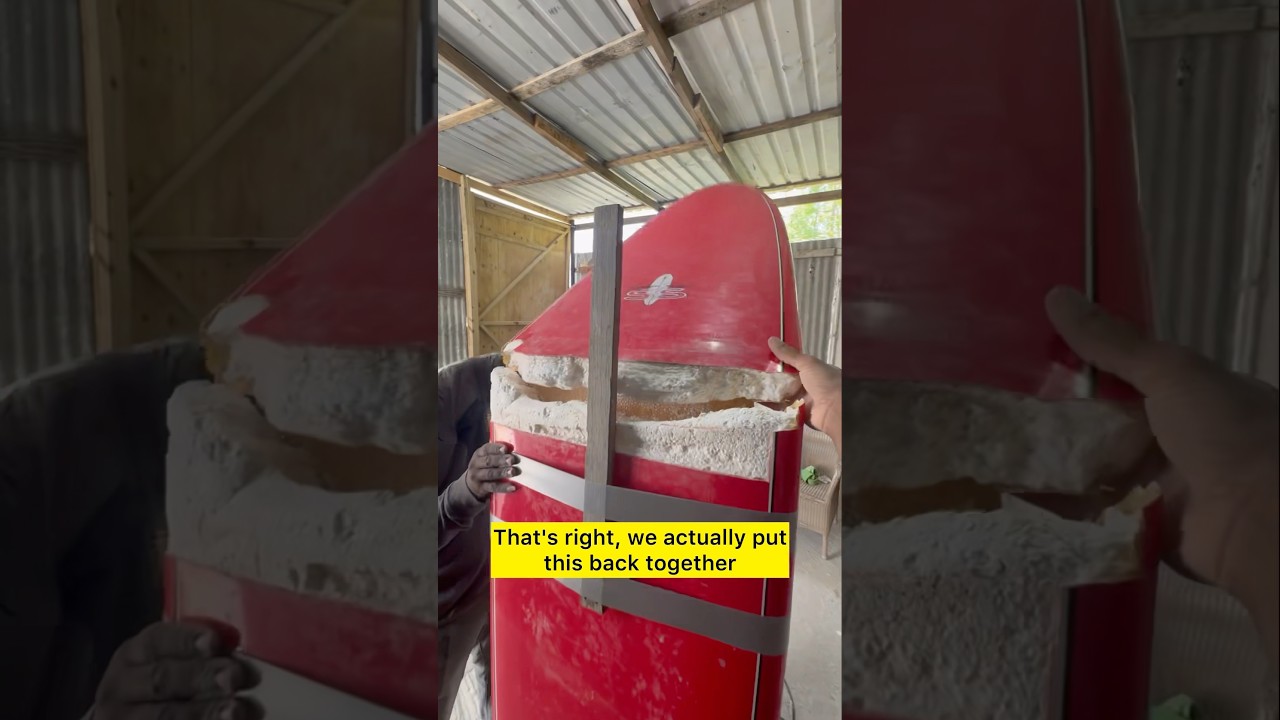
Cracked glass around a fin box that is otherwise solid is a manageable DIY job. A box that moves, or one torn out of the deck, is not, because the load path through it is structural and a bad rebuild fails mid-turn. The same goes for buckles and creases, which Surf Technique flags as things to check for before starting any repair.
Shop work at $30 to $100 is cheap next to the cost of a replacement board, and cheaper than a broken box taking your fins with it. If you do end up replacing a set afterwards, the templates are covered in our fin guide and reviewed individually across the fin index.
Mistakes that cost boards
- Polyester resin on an EPS core, which dissolves the foam.
- Sealing resin over foam that is still wet inside.
- Skipping the sanding prep, so the patch has nothing to grip.
- Straight resin with no filler, adding dead weight in the tail.
- Sanding a divot by working the block in one direction only.
- Repairing a buckle at home when it needs a shop and a proper rebuild.
What to do this week
Put a tube of UV-cure resin and a folded sheet of 220 grit in your car today, then run your hands over the rails and around the fin boxes of every board in the rack. Anything soft, cracked or stained around a break wants attention before the next swell. If the board turns out to be beyond patching, start the replacement search in the surfboard review index and size it with the volume calculator rather than buying the same litres you had before.
What the sources say
| Source | Score | Key takeaway |
|---|---|---|
| Shapers Australia — Epoxy repair instructions (PDF) | 9.4 / 10 | "The ding area to be repaired needs to be completely dry and clean. All loose particles, jagged fibreglass, dirt and wax must be removed before repairing. It is recommended to sand out 3mm of ding and blend the ding into the rest of the area." |
| Surf Technique — Surfboard ding repair tutorial | 9.2 / 10 | "Prep the area using 40 grit sandpaper and a flat block to sand off all loose parts, ensuring a good mechanical bond. Mix 2:1 epoxy resin with Q-Cell until you get a thick, paste-like substance." |
| ProSurfing.com — EPS epoxy ding repair, step by step with pictures | 8.8 / 10 | "This Surfboard Ding Repair Procedure is applicable for hand shaped EPS Epoxy Surfboards. It's relatively easy but if you're mechanically challenged take it to a local Surfboard Ding Repair or Surf Shop." |
| Surfyx — How to repair a surfboard ding, DIY guide | 8.7 / 10 | "An open ding lets water into the foam core, which makes the board heavy, causes delamination, and eventually ruins it. A sealed ding is just cosmetic. A professional ding repair costs $30–100 depending on the damage." |
| NSP Surfboards — Ding repair for epoxy surfboards | 8.4 / 10 | "NSP walks through a real-world repair on an epoxy Hybrid Protech board dropped onto pavement, filmed by the brand's own team." |
| Phix Doctor — Repair products and resin selection | 8.2 / 10 | "A dedicated repair-product maker publishing separate solar-cure, polyester and epoxy formulations for the two board constructions." |
The full sequence
- 1Dry the board completely
Water trapped in the foam will stop resin bonding and stay sealed inside the board. Leave the board nose-down in the shade with the ding facing the ground for a day or more on a soaked repair. Shapers is explicit that the area must be completely dry and clean before anything else happens.
- 2Sand back to a clean bond surface
Remove wax, dirt and every loose shard of glass with 40 to 100 grit on a flat block. Shapers recommends sanding out about 3mm of the ding and blending the edges into the surrounding deck so the patch has a tapered surface to key into rather than a sharp lip.
- 3Fill the void with thickened resin
Mix resin with a lightweight filler such as Q-Cell until it holds a paste consistency, then press it into the hole and build the rail line slightly proud of the original shape. Filler keeps the repair light where straight resin would add dead weight.
- 4Sand the filler back to shape
Once cured, work 40 grit on a flat block from several angles, including circular passes, until the filler blends back to the board's original curve. Surf Technique warns against sanding a divot, which is the usual result of grinding in one direction.
- 5Laminate a fibreglass patch
Cut two pieces of cloth, a small one over the fill and a larger one overlapping it, tape off the area and wet both out fully with resin. Pull the cloth down over the rail so the patch wraps rather than sitting flat on a curve.
- 6Hot coat, then sand to a finish
Apply a thin sealing coat over the cured lamination, then sand up through 80, 120 and 220 grit before a wet sand at 320 to blend the repair into the deck. The finish is cosmetic, but the sealed hot coat is what keeps water out long term.
Video guides


Related reading
FAQ
How do you repair a surfboard ding?
Dry the board fully, sand back the loose glass and about 3mm around the damage, fill the void with resin thickened by a lightweight filler, sand that back to the board's original shape, laminate one or two fibreglass patches over it, then hot coat and sand up through 80, 120, 220 and a 320 wet sand.
Do I need epoxy or polyester resin?
Match the resin to the board. Polyurethane boards take polyester resin, EPS and epoxy boards take epoxy. Polyester resin applied to an EPS core can dissolve the foam, so epoxy is the safer choice when the construction is unclear or unlabelled.
Can I keep surfing with a small ding?
Only after sealing it. An open ding pulls water into the foam, which adds weight and leads to delamination. A dab of UV-cure resin smoothed with a finger and held in direct sun for a few minutes gives a waterproof temporary seal that will hold for a session.
How long should a surfboard dry before repair?
Long enough that no moisture remains in the foam, which on a soaked ding means a day or more standing the board on end with the damage facing down and out of direct sun. Sealing resin over wet foam traps the water permanently and the patch will lift.
When should a ding go to a professional?
Buckles, creases, distorted rail rocker, large delaminated sections, torn-out fin boxes and snapped boards are structural and belong in a shop. Published DIY guides put professional repair somewhere around $30 to $100 depending on the damage.
What goes in a basic ding repair kit?
A tube of UV-cure resin, 100 and 220 grit sandpaper with a flat block, masking tape, a razor blade and a small square of fibreglass cloth for anything where glass is missing. Kits sold with those items together cost roughly the price of a couple of bars of wax.
Aggregated from 6 independent published sources and 3 video repair walkthroughs.